How do I setup my ZTE account with TinyMDM as EMM solution?
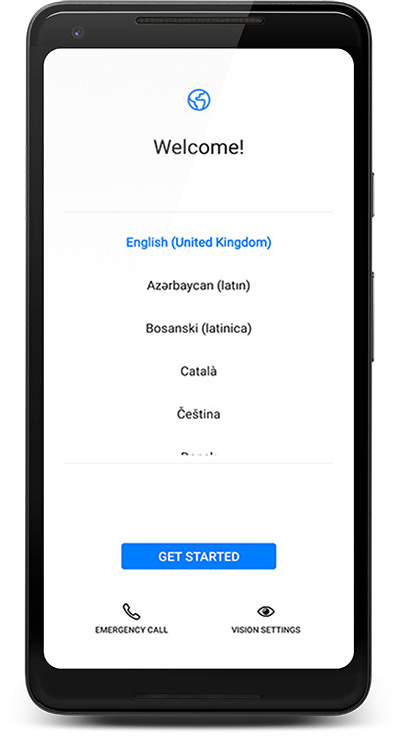
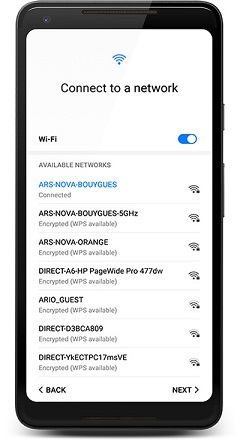
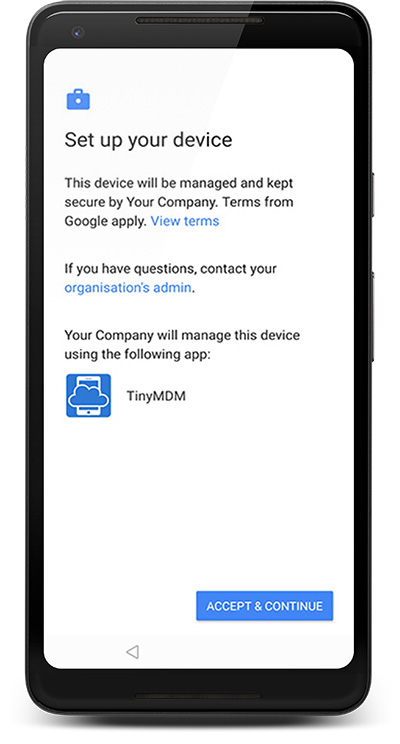
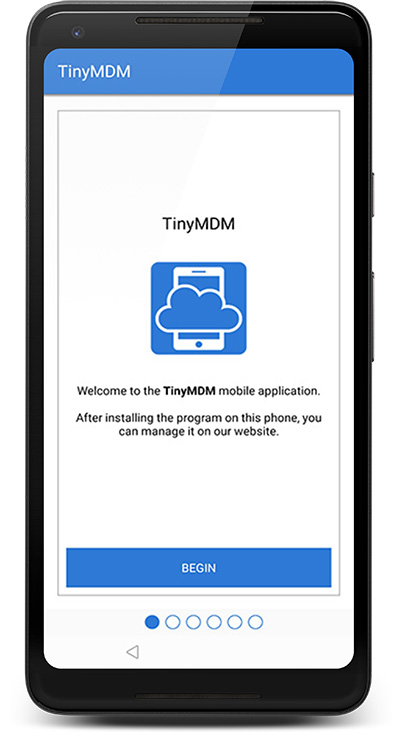
Zero-touch enrollment is a streamlined process for Android devices. On first boot, devices automatically check if they have received a specific configuration assignment and download the correct device policy controller app (here TinyMDM), which then completes setup on managed device. Devices eligible for Zero-Touch enrollment must be purchased directly from a Google reseller or partner. This reseller sets up your Zero-Touch enrollment account when your company purchases devices for the first time.
Prerequisites:
- Create a TinyMDM account
- Create at least one policy on your TinyMDM account. How to create a policy?
To be eligible for this type of enrollment, you must:
- purchase devices directly from an enterprise reseller or Google partner. This reseller sets up your ZTE account when your organization first purchases devices registered for zero-touch enrollment.
Step 1: Check the info on your ZTE account
Once you have purchased your devices from an authorized ZTE reseller, you will have access to the ZTE platform.
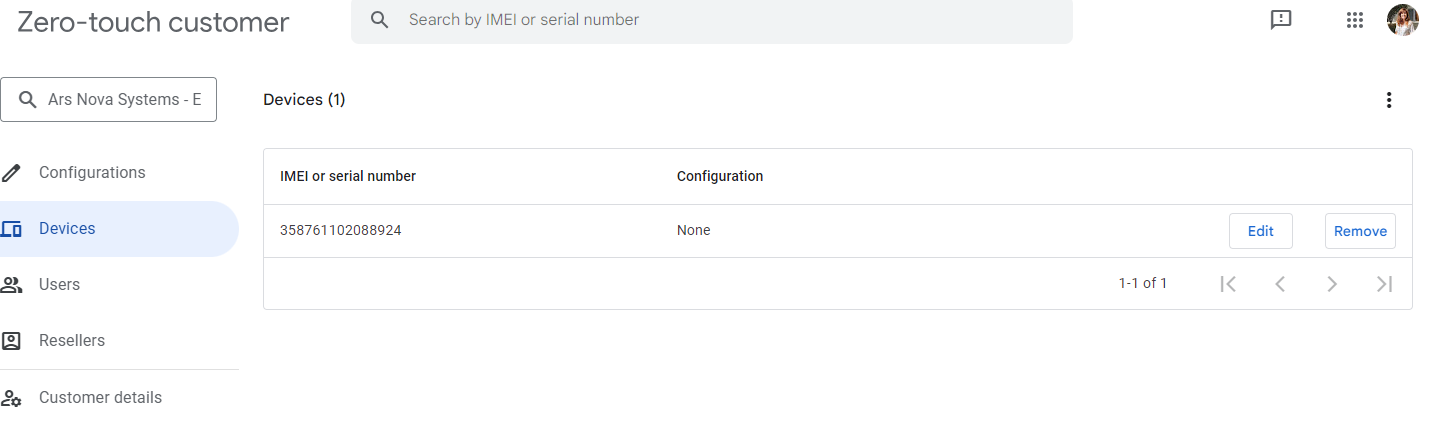
Once on the ZTE platform: in the Devices tab, you can view a list of all devices purchased from your active ZTE reseller. If any devices are missing, please do not hesitate to contact your reseller to let them know.
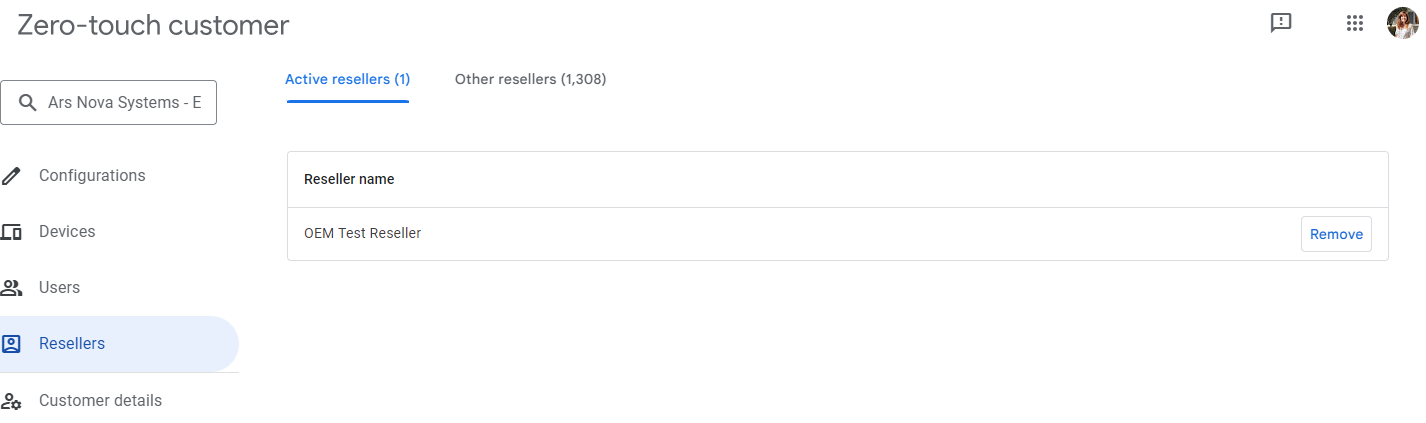
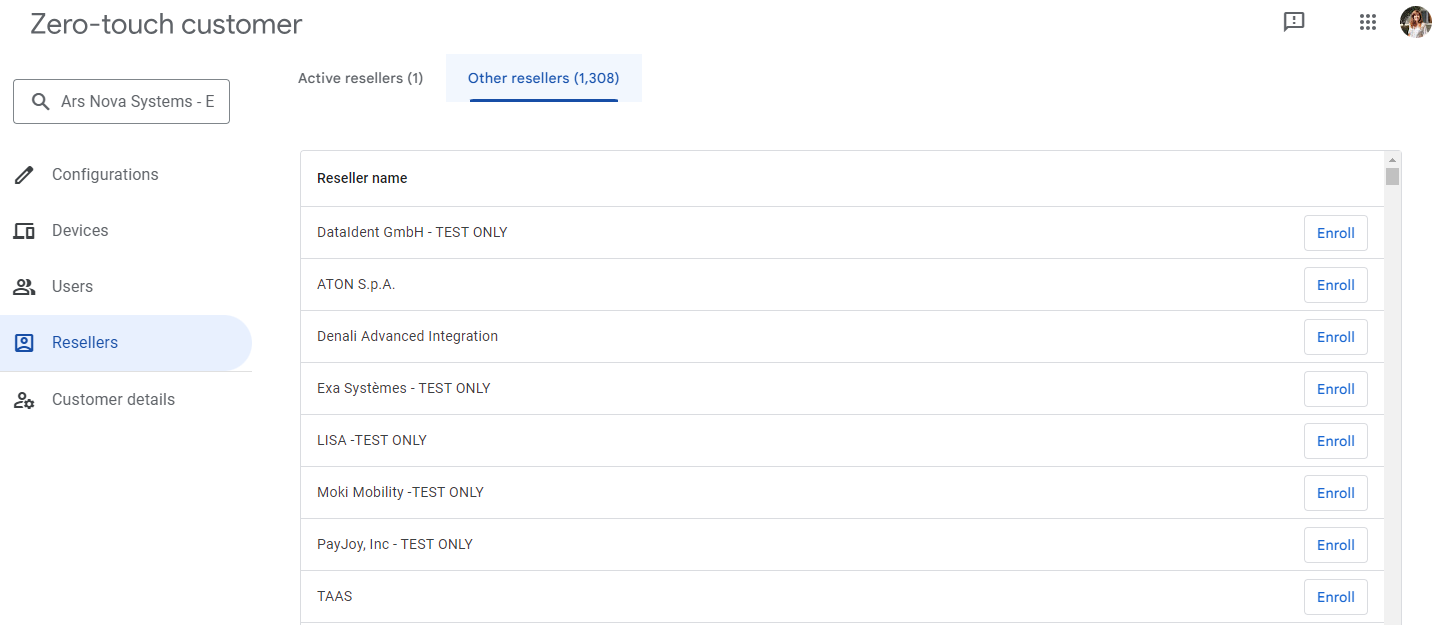
In the Resellers tab, you can see who is your active reseller and activate/deactivate the resellers from whom your organization purchases devices.
Step 2: Create a configuration
To create a configuration, click on the button Add Configuration.


Then, in the popup:
- Name your configuration and choose TinyMDM from the EMM DPC list.
- In the field DPC extras:
1. If you want to enroll your devices in Fully Managed (or Kiosk mode), enter the text below by replacing XXXXXXXXXXXXXXXX by the TinyMDM policy’s ID that you want to apply on the devices (visible in your TinyMDM console > Policies tab). Be careful of the case-sensitiveness.
If needed, you can also link your devices to a group of users, itself linked to a policy. To do this, you need to create a group in your TinyMDM console (follow this tutorial if necessary), link it to a policy and then, in your ZTE console, replace XXXXXXXXXXXXXXXX with the id of the group created (visible in your TinyMDM console, Users and Groups tab -> Groups sub-tab). Be careful of the case-sensitiveness.
{
"android.app.extra.PROVISIONING_ADMIN_EXTRAS_BUNDLE": {"enrollmentId": "XXXXXXXXXXXXXXXX"}
}
2. 2. If you want to enroll your devices in WPCO mode (compatible only from Android 11 and newer versions), enter the text below by replacing XXXXXXXXXXXXXXXX by the TinyMDM policy’s ID that you want to apply on the devices (visible in your TinyMDM console > Policies tab). Be careful of the case-sensitiveness.
If needed, you can also link your devices to a group of users, itself linked to a policy. To do this, you need to create a group in your TinyMDM console (follow this tutorial if necessary), link it to a policy and then, in your ZTE console, replace XXXXXXXXXXXXXXXX with the id of the group created (visible in your TinyMDM console, Users and Groups tab -> Groups sub-tab). Be careful of the case-sensitiveness.
{
"enrollmentId":"XXXXXXXXXX", "provisioningMode":"work_profile_on_fully_managed"
}Important: once configured, you will not be able to switch your devices from Fully Managed mode to WPCO mode and back, without performing a factory reset. Make sure you select the right option.
Additional ZTE specs: if you want users to have a particular name in your TinyMDM dashboard, you can add a “prefixType” in the DPC extras. The “prefixType” can be DATE, DEVICE_ID, SERIAL_NUMBER, IMEI or CUSTOM. See below:
DATE
To automatically name users by date: 2024-02-04_1, 2024-02-04_2, 2024-02-04_3 …
{
"android.app.extra.PROVISIONING_ADMIN_EXTRAS_BUNDLE": {"enrollmentId": "XXXXXXXXXXXXXXXX", "prefixType": "DATE"}
}
DEVICE_ID
To automatically name users by the device ID of the device associated to them.
{
"android.app.extra.PROVISIONING_ADMIN_EXTRAS_BUNDLE": {"enrollmentId": "XXXXXXXXXXXXXXXX", "prefixType": "DEVICE_ID"}
}
SERIAL_NUMBER
To automatically name users by the serial number of the device associated to them.
{
"android.app.extra.PROVISIONING_ADMIN_EXTRAS_BUNDLE": {"enrollmentId": "XXXXXXXXXXXXXXXX", "prefixType": "SERIAL_NUMBER"}
}
IMEI
To automatically name users by the IMEI of the device associated to them.
{
"android.app.extra.PROVISIONING_ADMIN_EXTRAS_BUNDLE": {"enrollmentId": "XXXXXXXXXXXXXXXX", "prefixType": "IMEI"}
}
CUSTOM
If you choose CUSTOM, you must add a customPrefix.
{
"android.app.extra.PROVISIONING_ADMIN_EXTRAS_BUNDLE": {"enrollmentId": "XXXXXXXXXXXXXXXX", "prefixType": "CUSTOM", "customPrefix" : "YourOwnCustomPrefix"}
}
Users will automatically be named YourOwnCustomPrefix_1, YourOwnCustomPrefix_2, YourOwnCustomPrefix_3 …
The new configuration will appear in your configurations list: in the first column, you can see the ID of the configuration (here 234234579). You can select the configuration to be the Default configuration at the top, and click on Apply to apply it on any new device by default.
Note: in most cases, you only need one configuration as it is only to link TinyMDM to all your devices (you must use your TinyMDM dashboard to assign different policies to different users).

Step 3: Add a configuration to your devices
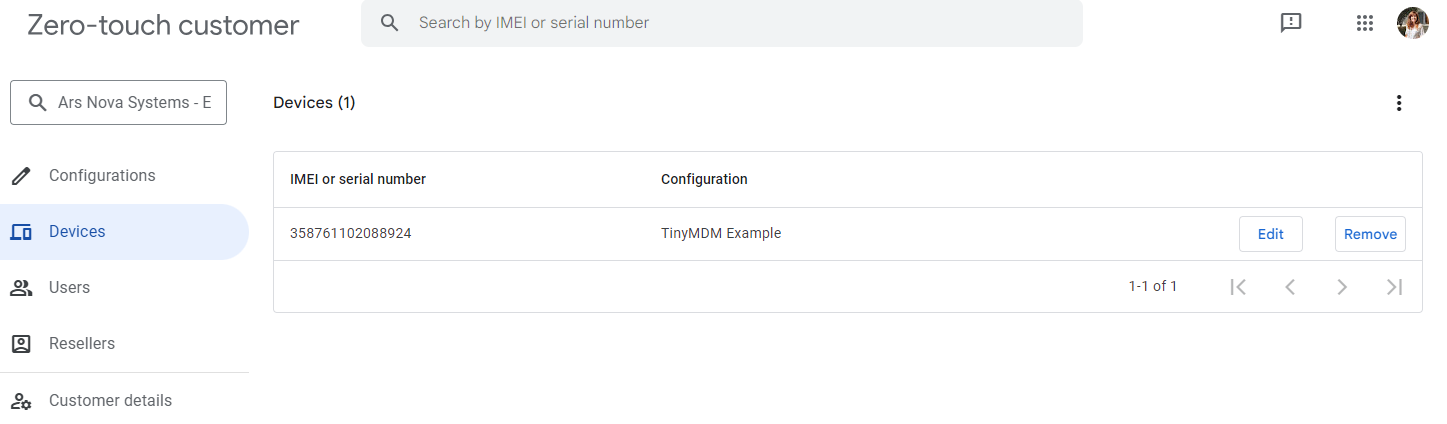
To apply your configuration with TinyMDM as EMM solution to a device, go back to the Devices tab. From here, you can do it manually by selecting the configuration and confirm the update (see screenshot below). But, if you have a lot of devices, you can also do it with a csv file (see next step).
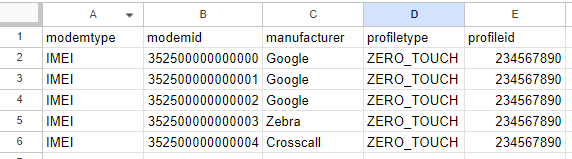
To apply your configuration with TinyMDM as EMM solution to all devices by batch, click on the menu at the top right of the devices and click on Upload batch configurations. From here you can download an example of CSV and prepare your own.To apply your configuration with TinyMDM as EMM solution to all devices by batch, click on the menu at the top right of the devices and click on Upload batch configurations. From here you can download an example of CSV and prepare your own.

The csv must be in the format modemtype,modemid,manufacturer,profiletype,profileid (see example below). Don’t forget to save your file in .csv (with a comma as separator) before uploading it on your ZTE web portal. Done!
Step 4: Manage the devices straight out of the box
Warning: The enrolment of devices via Zero Touch Enrollment is done without scanning a QR code. If devices registered in a ZTE console are enrolled by scanning a QR code, it will be as if they were enrolled twice. The device will then be in an unstable state before being automatically reset.
Devices are managed straight out of the box: on first boot, they check to see if they’ve been assigned a specific configuration, download the correct device policy controller app (TinyMDM), which then completes setup of the managed device. See the steps below!