How to import your contacts from Microsoft Azure?
Azure has established itself as the primary means of identity management for enterprises, with Microsoft Azure generally being used to access O365 and many other SaaS (cloud applications). Microsoft Entra ID’s integration with TinyMDM enables administrators to add contacts from their Azure account as well as users.
A) How to register the TinyMDM application with your Microsoft Entra ID account?
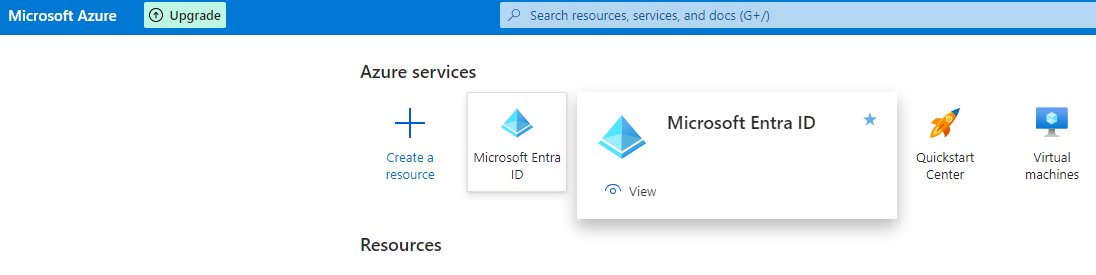
Log in to your Microsoft Azure account & Click on Microsoft Entra ID
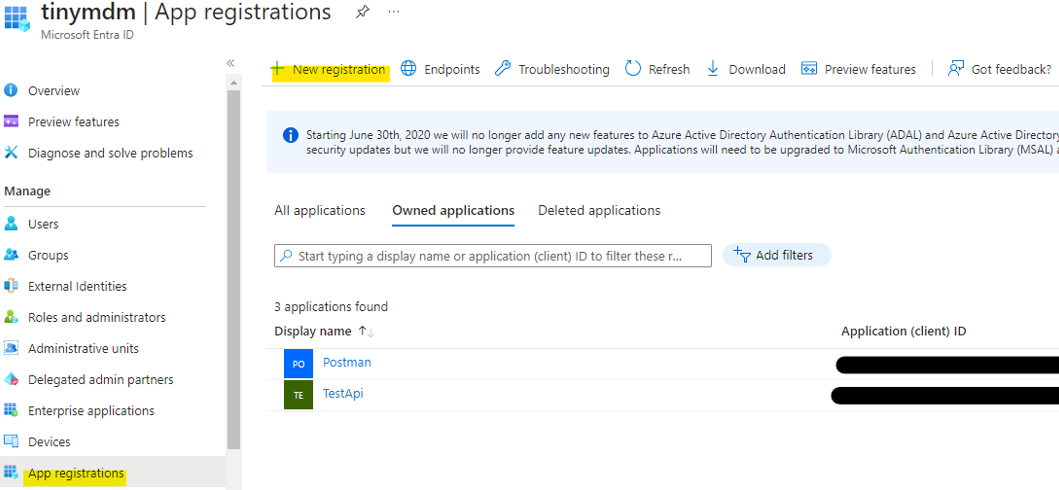
Go to the App registrations menu on the left, then click on New registration.
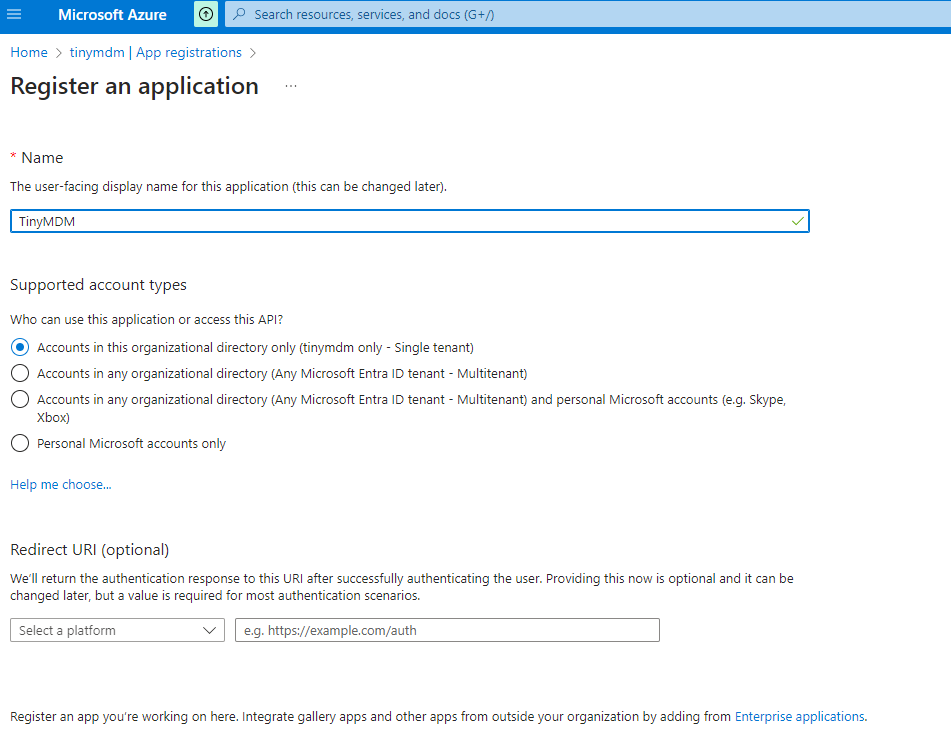
Name the application TinyMDM. In Supported account types, choose Accounts in this organizational directory only (tinymdm only – Single tenant). Click on Register.
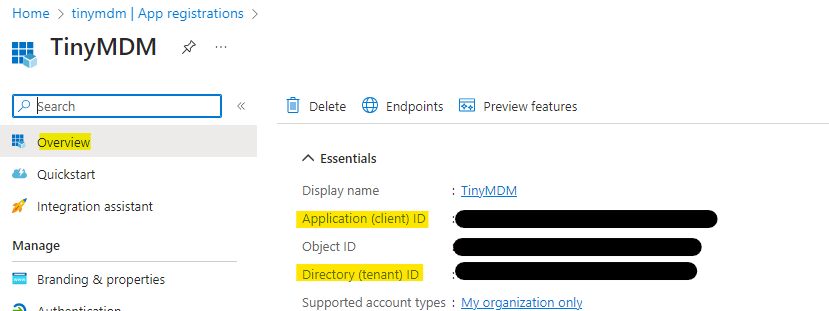
You will now see, in the Enterprise applications menu, the TinyMDM application you have just created. If you click on it, you’ll see an application ID (client) and a directory ID (tenant): please note these IDs, which you’ll be asked for later in the TinyMDM console.
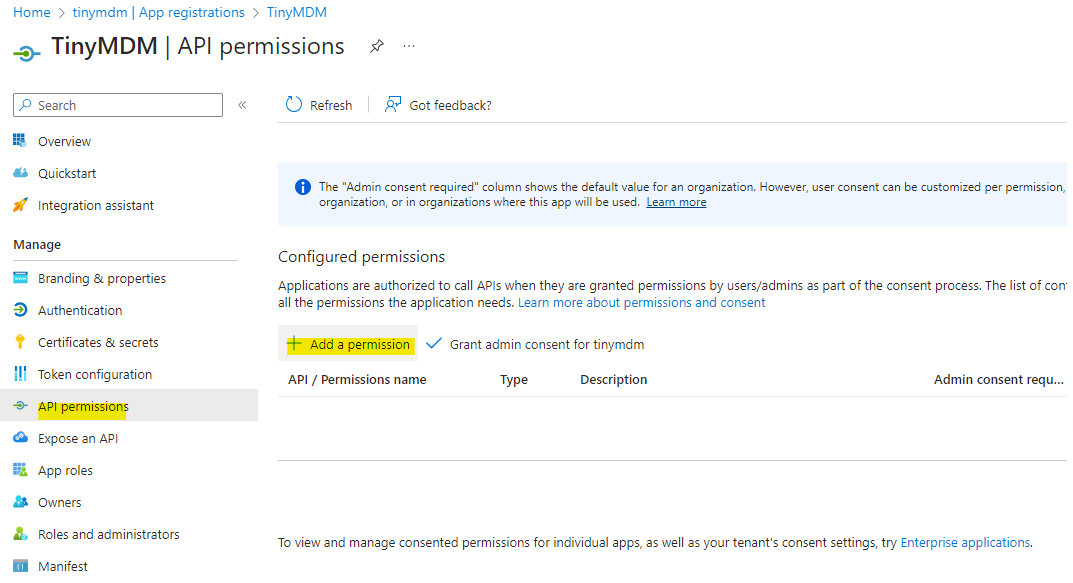
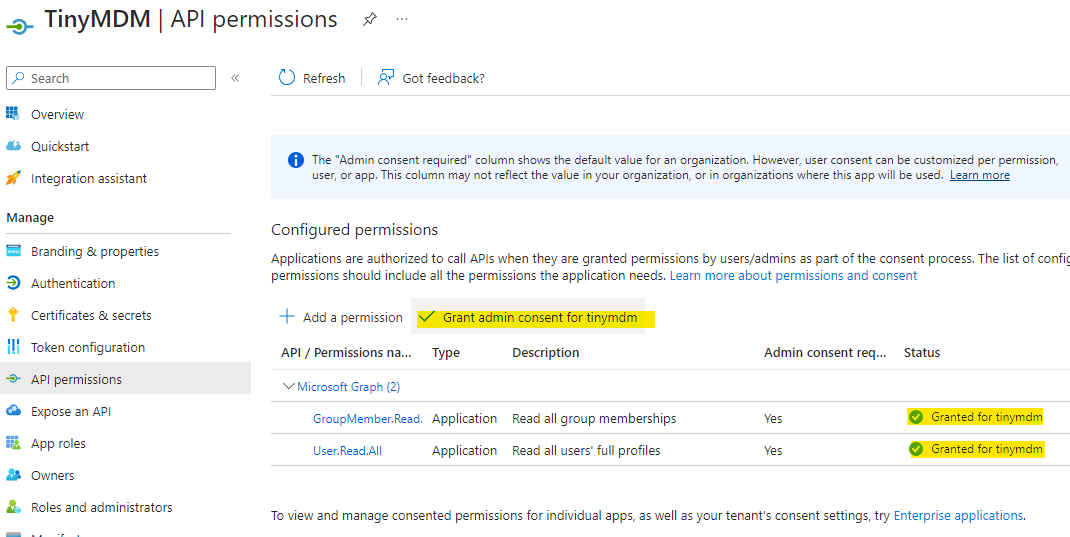
Now go to the API permissions menu on the left, then click on Add a permission.
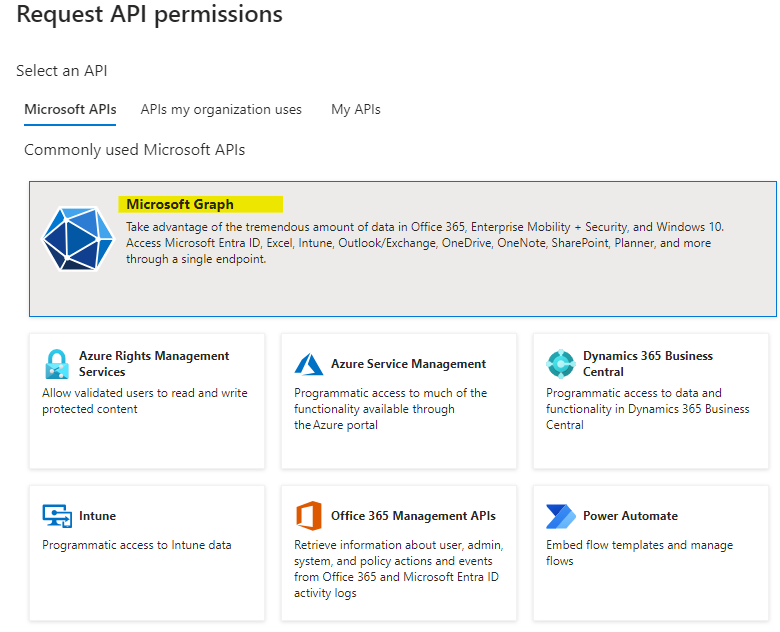
In the popup window, click on Microsoft Graph
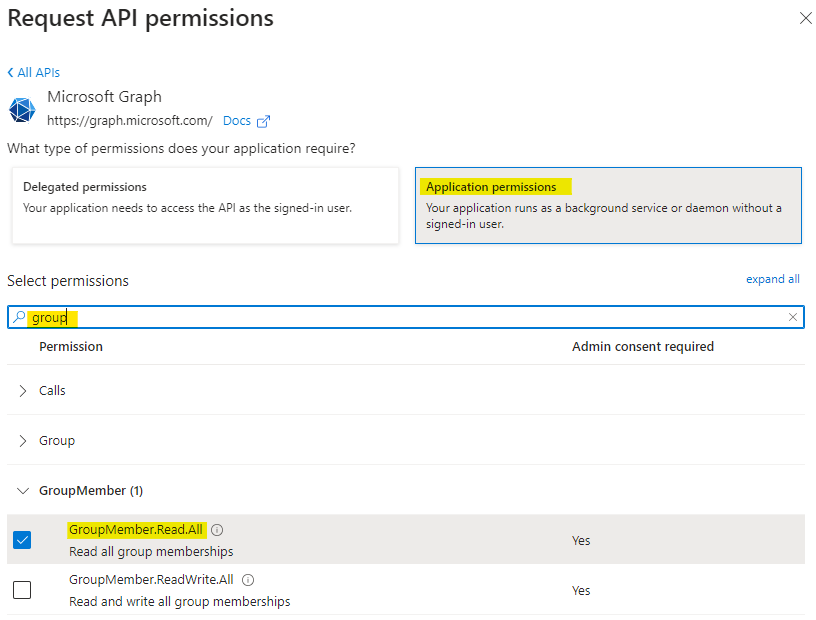
Choose the Application permissions option, then type group in the search field, and check the GroupMember.Read.All box.
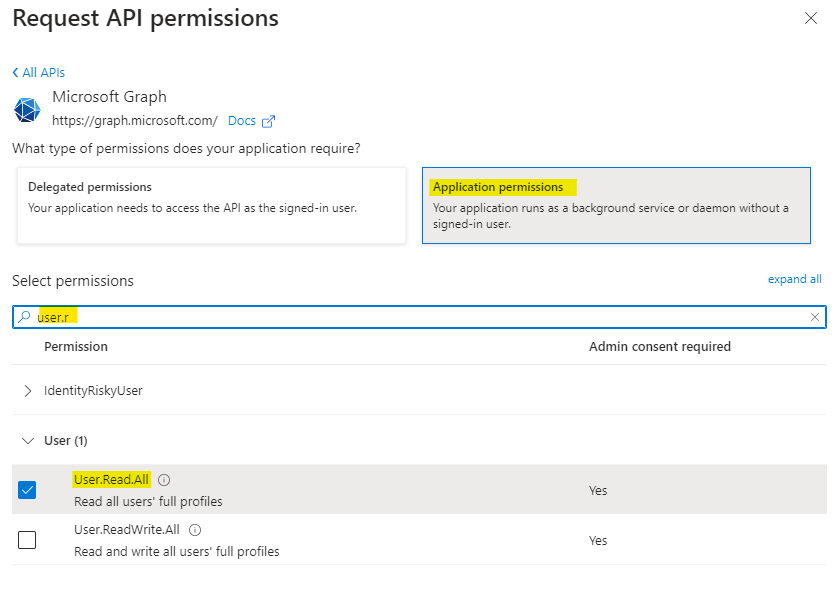
Repeat the operation, typing user.read and checking the User.Read.All box, then click on the Add authorizations button.
You now have 2 authorizations for Microsoft Graph: GroupMember.Read.all and User.Real.All. Click on Grant admin consent and grant consent to both.
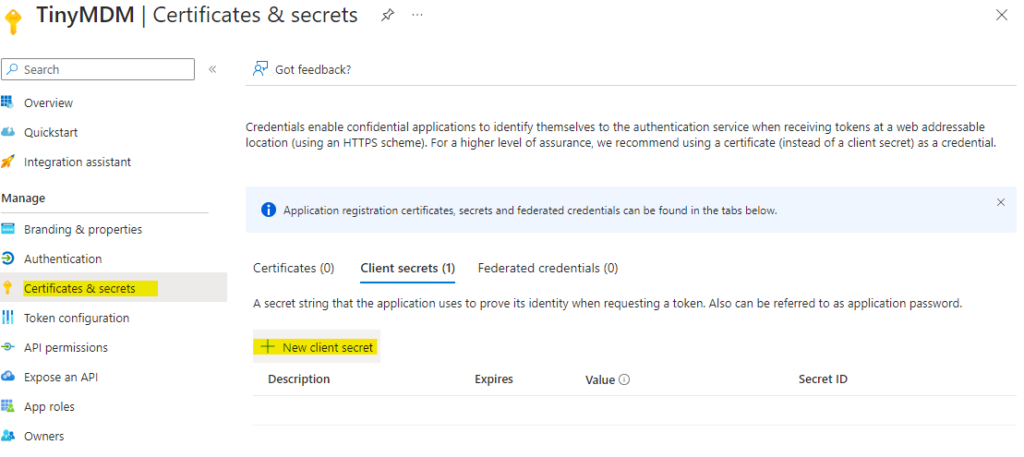
Second step, we now need to create a secret. In the left-hand Certificates & Secrets menu, click on New client secret. Enter a description (e.g. “Secret TinyMDM”) and an expiration date, then click on Add.
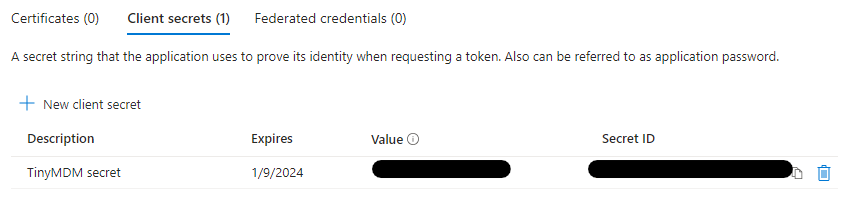
Here you can see the value and identifier of your secret. Please note the value of the secret, which will be requested later in the TinyMDM administration console.
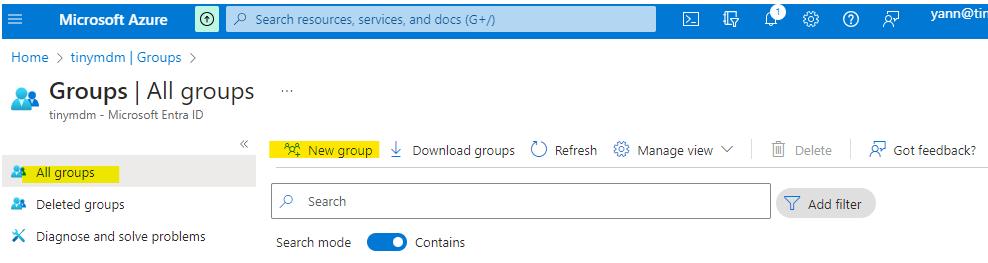
Third and last step, we need to create a group that will be synchronized with TinyMDM and add members to it.
To do this, return to the Microsoft Entra ID Overview, go to the All groups tab and click on New group. Choose the Security group type, name it TinyMDM Contacts, and describe it as “Contacts importable into TinyMDM” (for example). Click on Create.
You’ll now see the “TinyMDM Contacts” group created, with an Object ID. Please make a note of this ID, because you’ll be asked for it later in the TinyMDM administration console.

Now you need to add members to this group: those you wish to import into the TinyMDM administration console. To do this, click on the TinyMDM Contacts group you’ve created (where you’ll see that no members have been found), then go to the Members tab on the left and click on Add members.
Note: this “TinyMDM Contacts” group corresponds to level 0, and will not be imported as such into the administration console. In level 0, you can add members, who are either contacts or groups. If you add a group, for example the “Management” group, which itself has 2 contacts, these two contacts will be imported into the TinyMDM administration console as belonging to a group called “Management”. On the other hand, groups within groups will not be imported and will be ignored, since TinyMDM supports only one level of group, and no sub-group.
B) How do I synchronize Microsoft Entra ID (formerly Azure AD) contacts in TinyMDM?
Log in to your TinyMDM administration console, go to the Shared contacts tab and click on the Import from Microsoft Azure (Synchronisation Microsoft Azure) button.

Fill in the required fields in the popup window:
- Client ID: this is the application ID (client) of the TinyMDM application you created in Azure AD in the “Register an application” step.
- Client secret: this is the value of the secret you created in Azure AD in the “New client secret” step (note: the value, not the secret ID)
- Group ID: this is the object ID of the “TinyMDM Contacts” group (level 0) you created in Azure AD in the “New group” step.
- Tenant ID: this is the ID of the directory (tenant) you can find in the “Overview” tab of your Azure AD account
- Scope: https://graph.microsoft.com/.default

Within seconds, imported members will appear in the TinyMDM console, shared contacts tab.
Note: for information, when importing contacts from Microsoft Entra ID, only the phone number entered in the “mobile phone” field will be synchronized with TinyMDM.
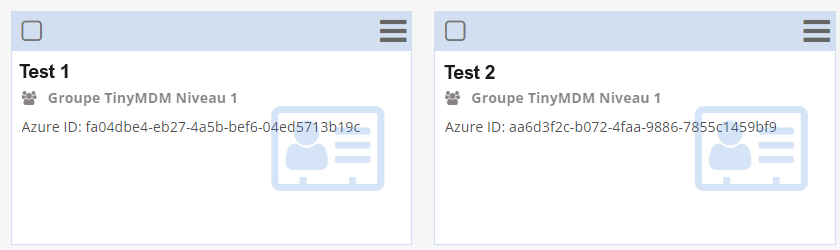
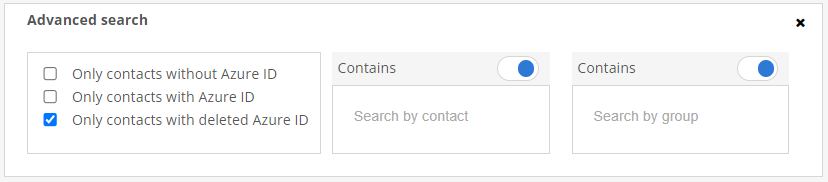
If you need to resynchronize your Microsoft Entra ID contacts, you can click the “Import from Microsoft Azure” button again. Contacts who are no longer part of the “TinyMDM Contacts” group to be imported (level 0), will appear as Azure ID: deleted in TinyMDM. You can easily find them in the console via the advanced contacts search, by checking the Only contacts with deleted Azure ID box.
Warning: in your Microsoft Azure account, if you change a user’s group or move from a status without a group to a group, it is important to remove the user from their former position, as this is not automatically proposed by Azure.
- Example 1: in your Microsoft Azure account, if you add Richard Roe (from the group Management) to the group HR, he will belong to both groups (so will still be affiliated to Management in the TinyMDM console in the event of resynchronization). Once Richard Roe has been added to the HR group in Microsoft, you’ll also need to remove him from the Management group via Microsoft, so that he belongs to just one group. Only then will Richard Roe be updated as belonging to the HR group in the TinyMDM administration console when the shared contacts are resynchronized.
- Example 2: in your Microsoft Azure account, if you add Tom Smith (without a group) to the group Management, he will be synchronized both as an individual contact and as a member of the group Management (so will still be in the no-group state in the TinyMDM console in the event of resynchronization). Once Tom Smith has been added to the group Management in Microsoft, you’ll also need to remove him from the “TinyMDM” group (level 0) as an individual contact via Microsoft, so that he’s only synchronized via the group Management. Only then will Tom Smith be updated as belonging to the group Management in the TinyMDM administration console when Microsoft Azure users are resynchronized.
Also be careful not to create a contact on Azure AD with a name equivalent to a contact that already exists in TinyMDM, otherwise the import won’t work.