How to change the email address linked to your Android Enterprise account?
To change the email address linked to your Android Enterprise organisation, please follow the steps below, depending on your initial registration method:
A. company registered with a Google Workspace administrator account
B. company registered with a professional email address
C. company registered with a Google account
A. Company registered with a Google Workspace administrator account
You need to connect to your Google Workspace console, go to Directory tab, then Users sub-tab and grant super-administrator rights to the right user. Then, you need to remove the super-administrator rights from the initial user.
B. Company registered with a professional email address
1.Log into your TinyMDM account and go to the Enterprise Approved Apps tab.
2. Click on Update your company under the Register / Unregister your company sub-tab.
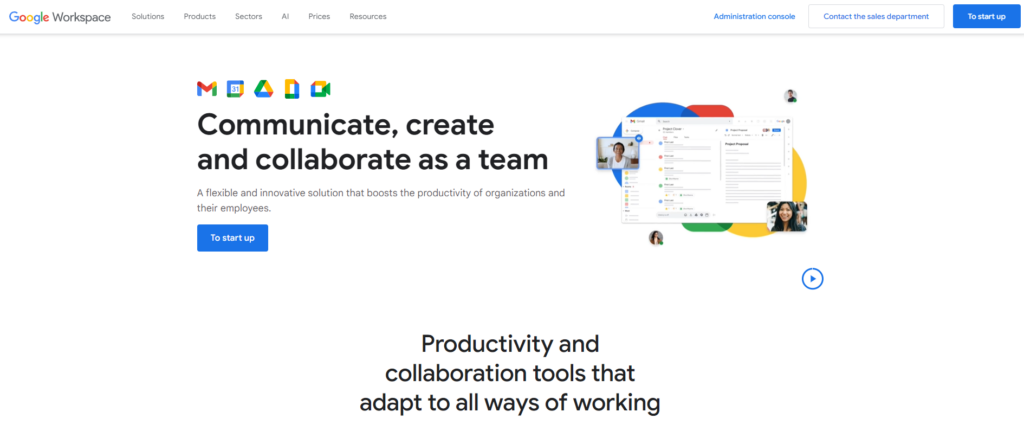
3. Go to Google Workspace homepage and click on Admin console.
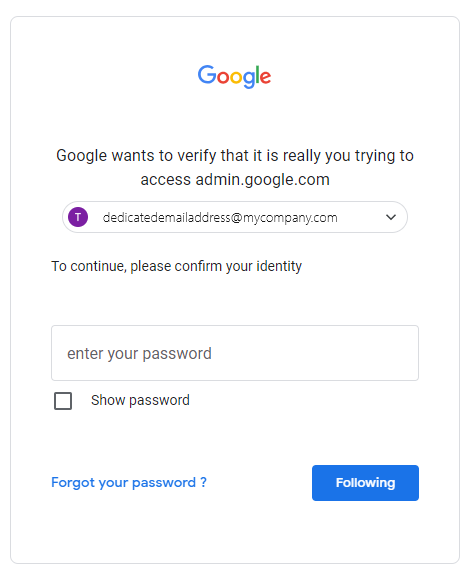
4. Enter the details of the Google administrator account created when the company was registered.
5. You will be directed to the Google Workspace administration console. Go to the Directory tab and click on Users sub-tab.

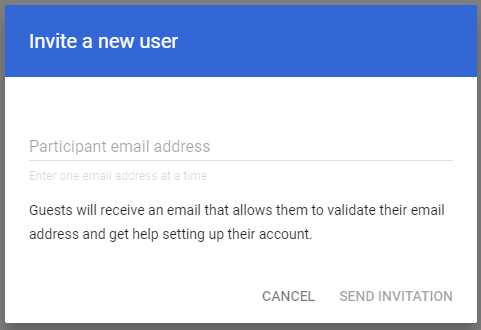
6. To change the account administrator, click on Invite a new user.

7. Then enter the new user’s email address and click Send invitation.
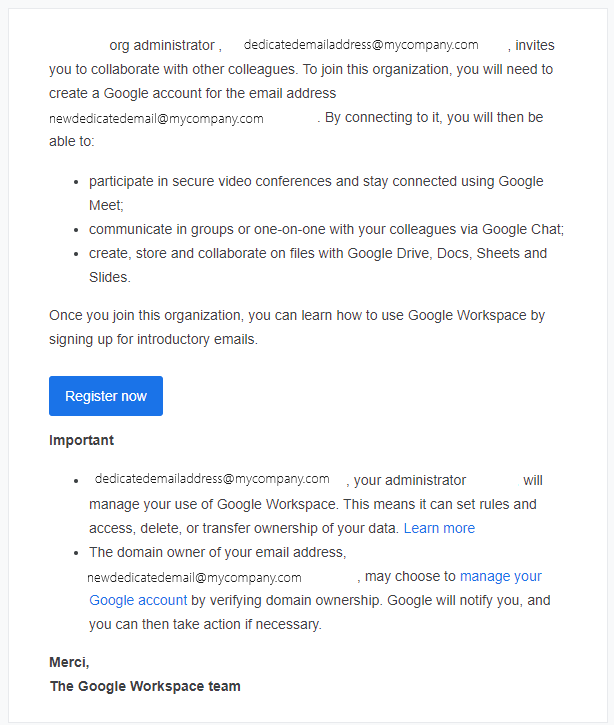
8. An invitation email has been sent to the email address you entered. Connect to the mailbox in question and click on the email received by The Google Workspace Team. Read the email and click on the Register now button.
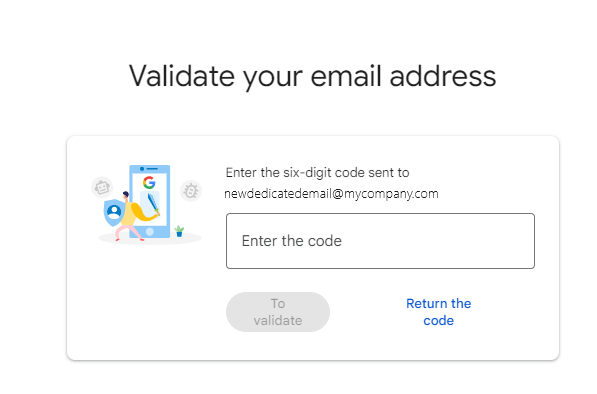
9. On the page that appears, enter the validation code you received by email and click on To validate.
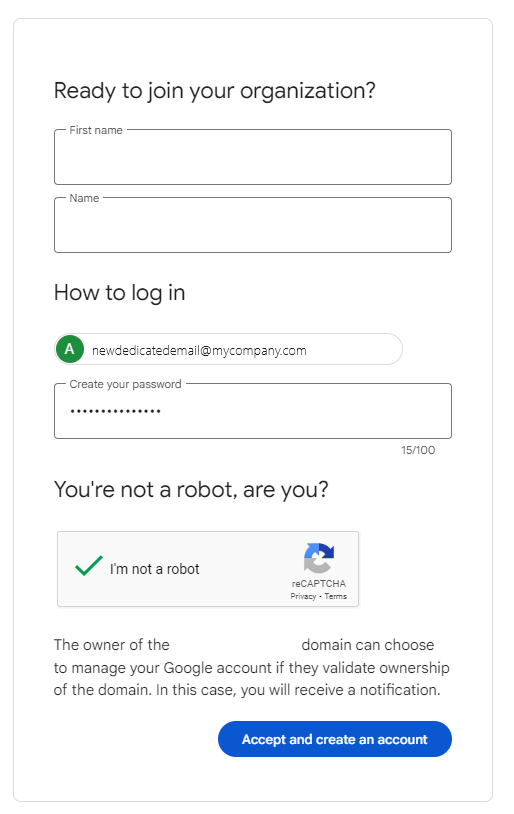
10. You are going to create a new Google Account that will allow you to be a user on Google Workspace. Fill in the information and click on Accept and create an account.
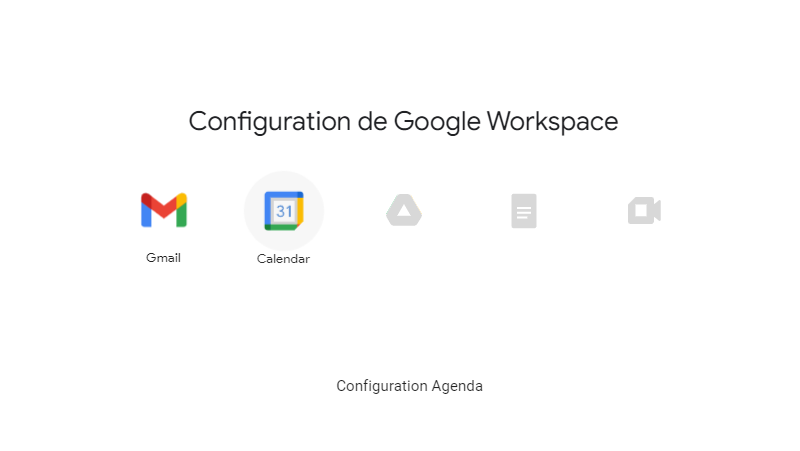
11. The account is being set up, please wait.
12. Enter your new google account login details (email and password).
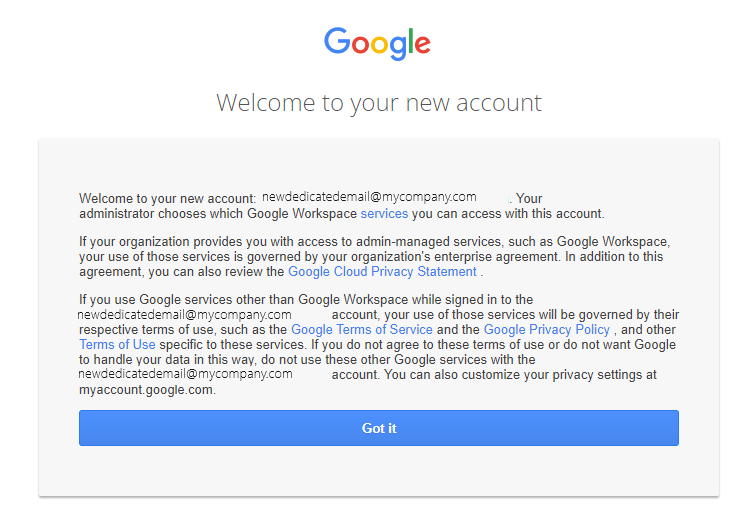
13. Then validate Google’s terms of use by clicking on I understand. Your Google account has been created.
14. Now go back to Google Workspace, to the Directory tab and then to Users. You will now see two users: the one from the Google administrator account (called User 1 on the tutorial) and the new one created just now (called User 2 on the tutorial).

15. Click on the User 2’s name to open their account page, then click on Administrator roles and rights.
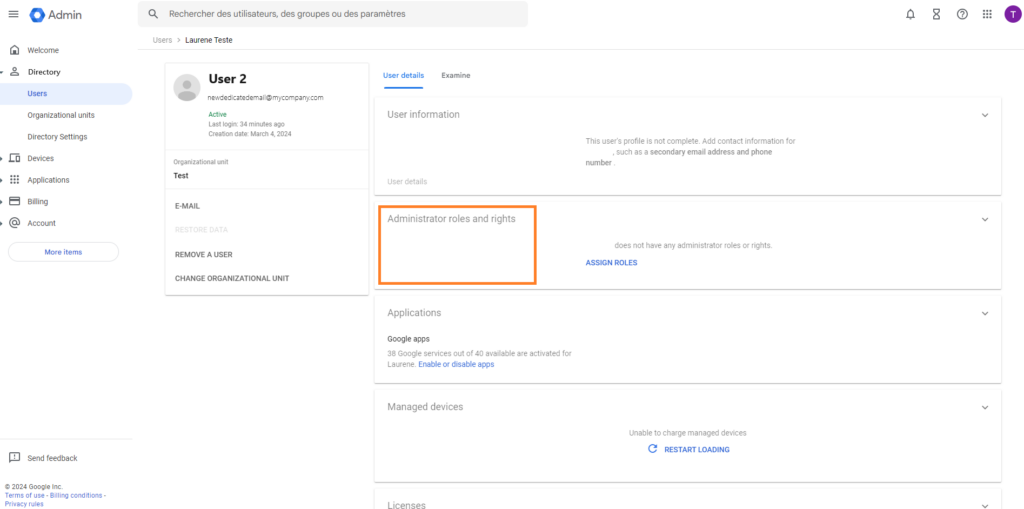
16. Click the wheel to assign it as super-administrator and confirm your change by clicking Save. Both users are now considered to be super-administrators.

17. If you only want one super-administrator, click on User 1, then go to Administrator roles and rights and unassign the super-administrator role.
If you encounter an error when unassigning one of the users from the super-administrator role, it’s probably because that user is considered as the main Google Workspace administrator. In this case, contact your current main administrator to make the change.
Then you do this, a pop-up appears to designate a new main administrator and the contact email address for the account.
C. Company registered with a Google account
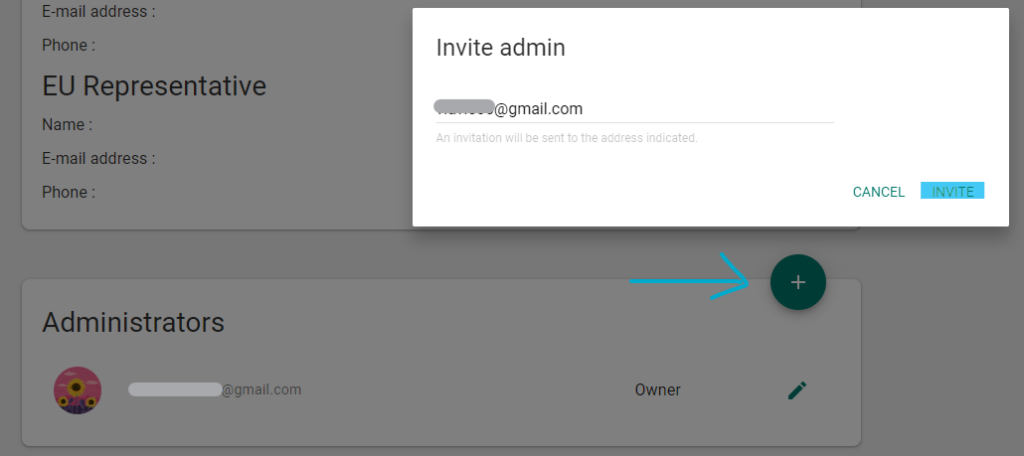
If you have registered your company with a Google account, go here and log in with the Google account in question, click on the + button in the “Administrators” section, and add an e-mail address to which you have access. Click on Invite.
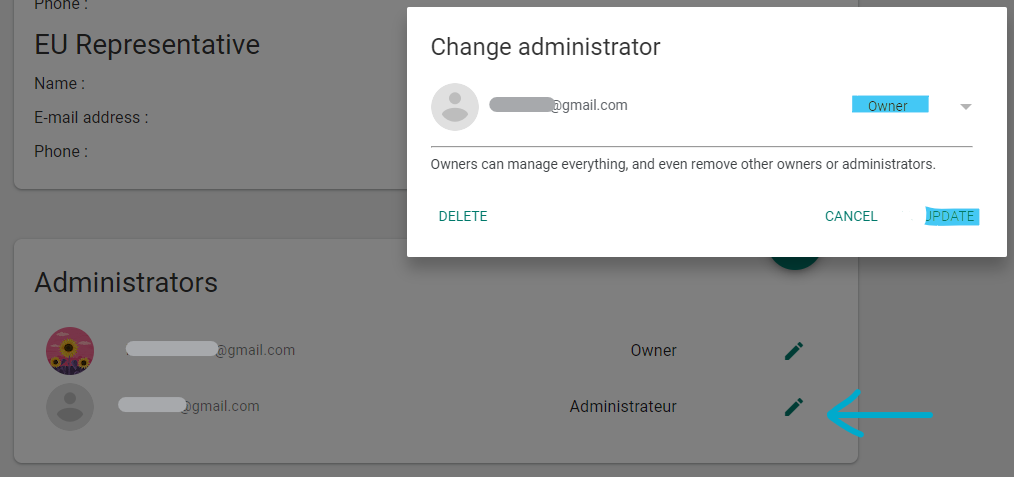
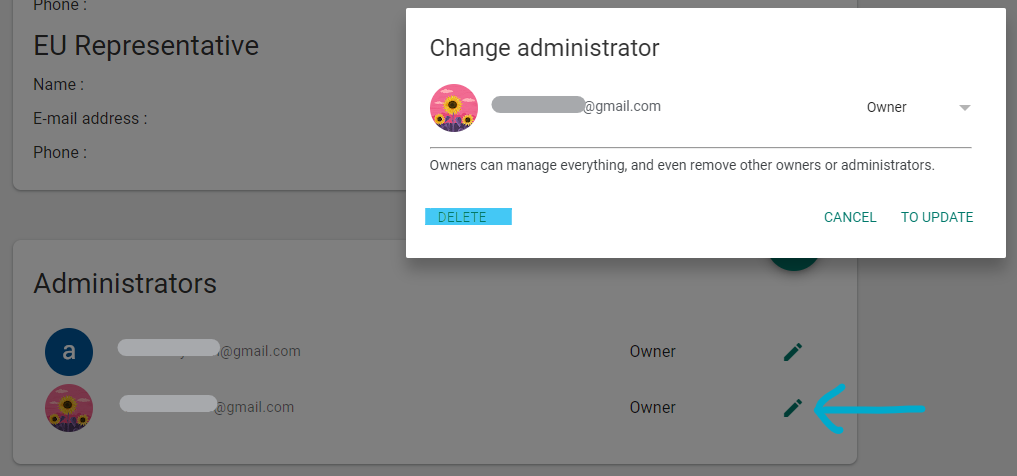
Click on the pencil to the right of the account you’ve added, and choose to set it as Owner. Click on Update.
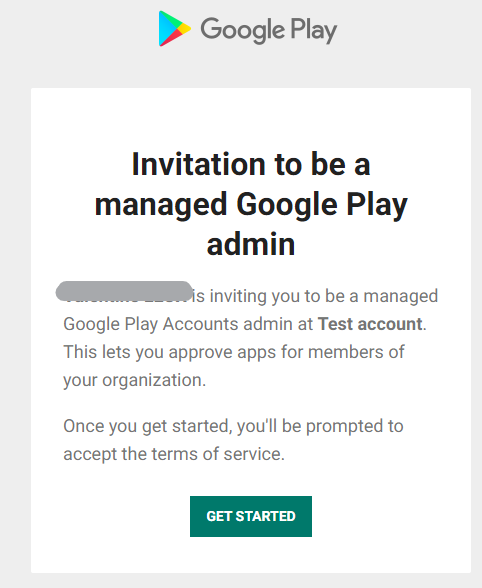
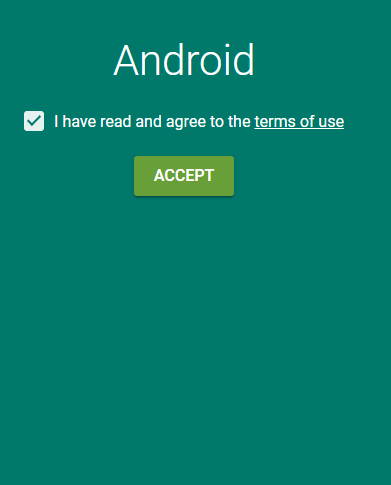
In the email sent to the email address of the account you’ve added, click Get Started and accept the Terms of Use.
Go back to your organization’s Google Play settings and delete the old account.
Return to the TinyMDM console, in the Company Approved Apps tab, and refresh the page: the new Google account should appear.
WARNING: if If you click on “Unregister your company”, you will remove your company from EMM and all your settings will be lost. Users and devices will not be managed anymore as they will be linked to an Android Enterprise account that doesn’t exist.
