
Simply follow the steps or watch the video tutorial to get started
To help you fully enjoy your free trial, we provide this TinyMDM quick start guide in five main steps, which you can follow in writing or via our video tutorial.


1) REGISTER YOUR BUSINESS
1 minute
Prerequisites: you need to have a TinyMDM account. If you haven’t yet signed up for a free trial, click here.

First of all, you need to register your company. From your TinyMDM account, go to the Enterprise Approved Apps tab, open the Register / Unregister your company subtab and click the Register your company button.
Then follow the tutorial below to register your company with a professional email address, a Google Workspace administrator account or a personal Google account.
Tutorial: How to register your business
2 ) SELECT YOUR BUSINESS-WIDE APPROVED APPS
Prerequisites: having registered your company

From the Enterprise approved app tab, open the Apps management subtab to choose which applications will be available globally for your organization. This includes public apps from the Play Store, as well as your private apps, website shortcuts (web apps), and manufacturer apps.
Important: Please note that selecting an app from this tab approves it at the global company level. This does not mean it will be automatically installed on devices. For an application to be deployed to mobile devices, you will then need to specifically authorize it via a policy.
1. Public Apps (available on the Play Store)
To approve a public app, in the Managed Play Store block, click Public Apps and search for it in the Play Store. Then, click the application, select it, and approve it on your TinyMDM administration console.
Tutorial: Public Apps
2. Private Apps
5 minutes
To add a private application on TinyMDM, you have two options: add it via the TinyMDM Store, without going through Google, or add it via the Managed Play Store. To understand how to add private applications using a specific method, please follow the tutorials below.
Tutorials: Private Apps (via the TinyMDM Store) / Private apps (via the Managed Play Store)
3. Web Apps
To create a website shortcut, also called a Private Web Application, in the Managed Play Store block, click Private web apps and create your web shortcut by entering its title, URL, and desired display method. Once your web application has finished publishing, you can approve it on your TinyMDM administration console. If needed, refer to the tutorial below.
Tutorial: Web apps
4. Manufacturer Apps
The Manufacturer Applications box includes all system applications available based on your devices’ different manufacturers.
To approve manufacturer apps, simply click Manufacturer apps button and check the applications of your choice. They will then appear in the list of approved applications and can be installed on devices, according to their policy.
Tutorial: Manufacturer apps
3) CREATE OR IMPORT USERS
60 seconds
To equip your teams with mobile devices, you need to create the associated users from the Users and Groups tab.

To create users in TinyMDM, you have several options:
- Create them one by one by clicking Add a user. Tutorial: Create a user or group
- Import a CSV file of your users by clicking Import users. Tutorial: Import users
- Synchronize your Microsoft Azure users by clicking Microsoft Azure synchronization. Tutorial: Synchronize users with Microsoft Azure
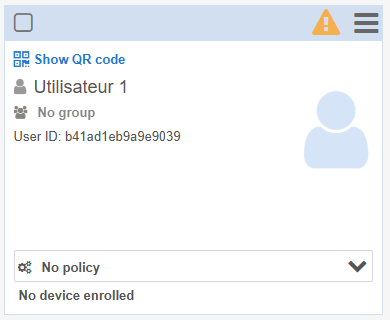
Created users appear as cards. If a user haven’t yet been assigned to a policy, the orange pictogram will appear on top of the card. You’ll need to create a policy (step 4 of the quick start guide) to link your user to it.
To save time, you can also opt for the multiple enrollment method. This feature allows you to avoid creating users one by one. Instead, users card are created when you enroll your devices. Tutorial: Multiple device enrollment and automatic user creation
4) CREATE A POLICY
5 minutes
The policy represents the security rules that you want to apply to the mobile devices:
- Go to the Policies tab, then click on Create a policy
- Select users (or groups of users) that are going to be assigned to this policy (you can easily modify it whenever needed)
- Setup your tailor-made policy thanks to the different tabs available: passwords management, apps management, internet filtering, Wi-Fi configuration, shared contacts, shared files…
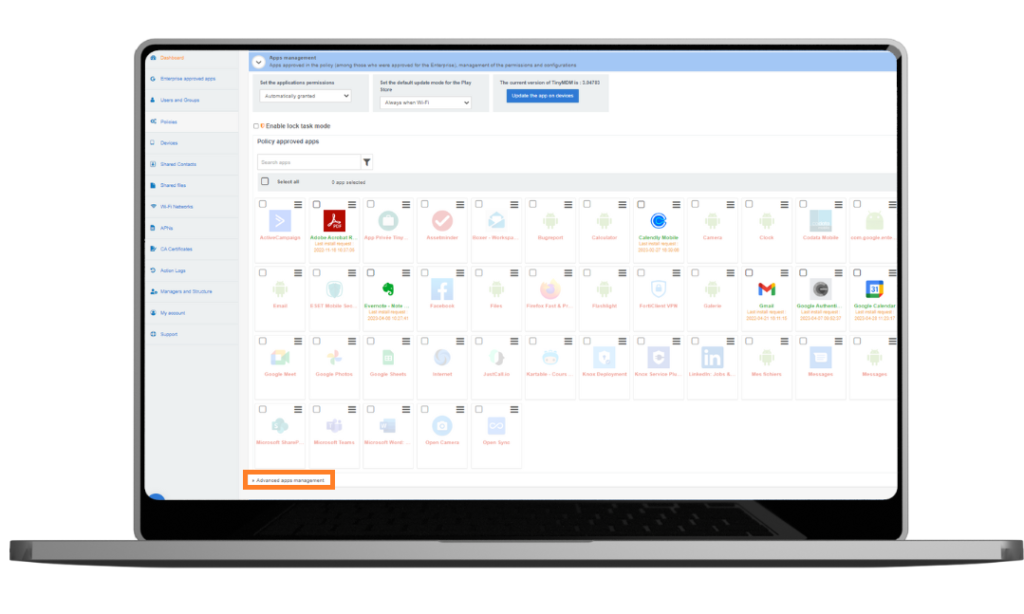
Tutorial: Create a policy
5) ENROLL YOUR DEVICES
5 minutes
Before choosing how to enroll your devices, consult our summary page of the different management modes offered by TinyMDM: BYOD, Fully Managed, WPCO, Kiosk mode…
a. Enroll a device in Fully Managed Mode (COBO) or Kiosk Mode (COSU)
Prerequisites:
- The device must be new or reset to factory settings.
- This enrollment method is not compatible with Huawei (EMUI 5 or less) and Xiaomi devices. Please refer to the enrollment via afw# code method.
1. On the initial startup screen, tap six times in a row anywhere on the screen (but in the same spot), and wait a few seconds. This first screen is often the language selection screen, but it may vary depending on the device manufacturer. The key is to tap six times on the very first screen that appears.
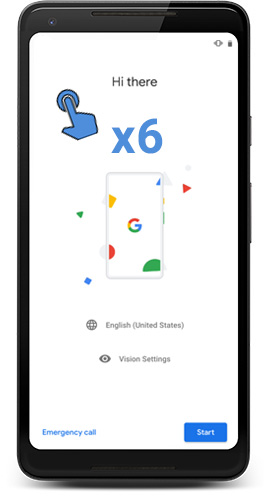
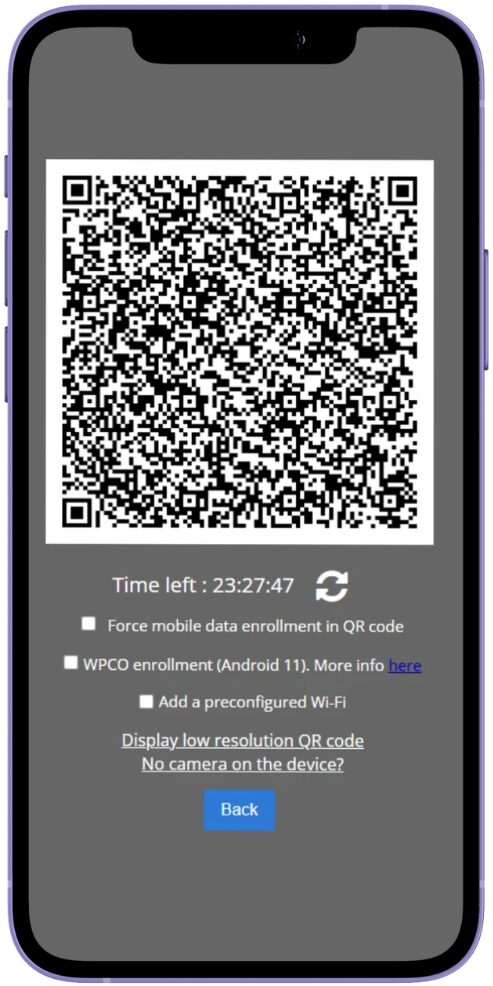
2. The device camera opens: scan the QR code visible in the admin console (or via email if it was sent to the end user). You can scan the QR code without any additional settings, or force the enrollment using mobile data (except on Android 10) or add a pre-configured Wi-Fi network from the TinyMDM console, by checking the corresponding boxes next to the QR code:
Notes:
- Enrollment QR codes are valid for 24 hours. The remaining time is displayed directly below the code. If needed, a new one can be generated using this icon:

 .
. - Connection tokens are valid for 60 seconds. The remaining time is displayed directly below the token. If needed, a new one can be generated using this icon: .
3. If you didn’t preconfigure a wifi network, you can select one, enter it’s password and follow the steps of the configuration wizard.
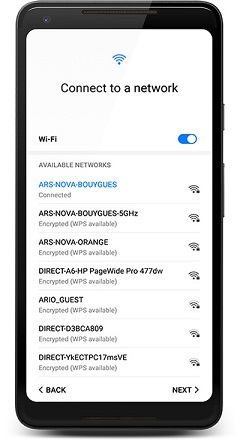
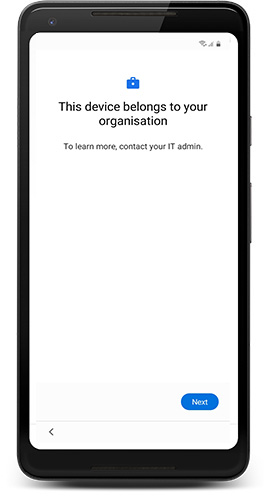
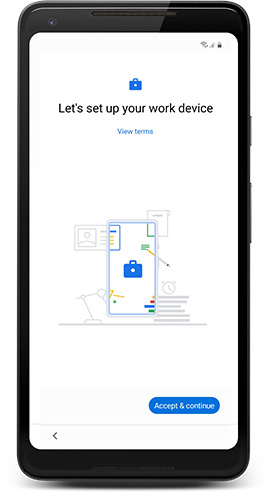
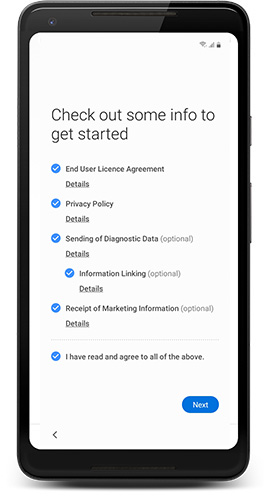
4. The device automatically downloads TinyMDM. Click Begin and accept the Terms of Use.
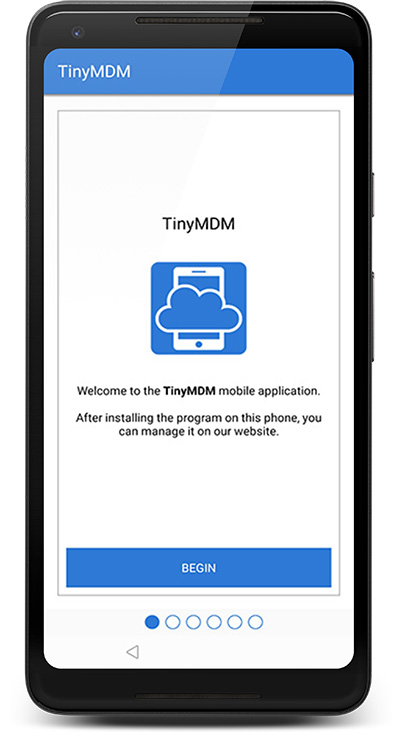
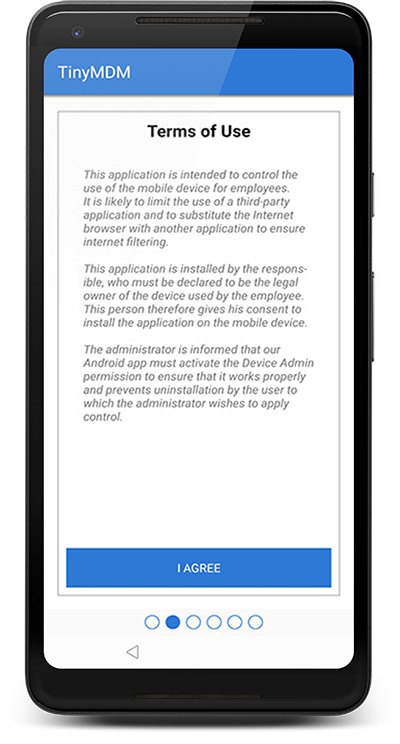
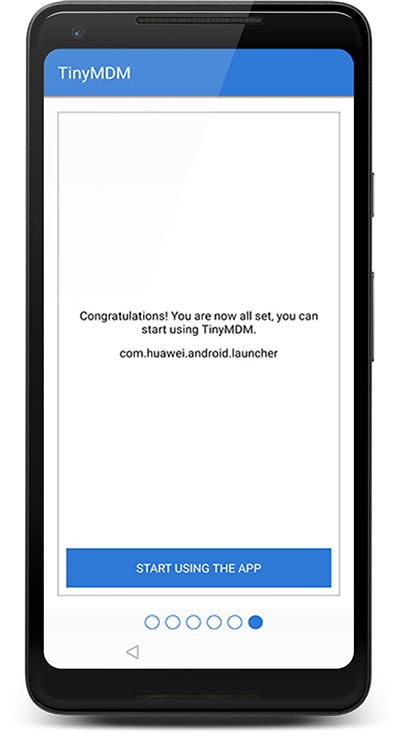
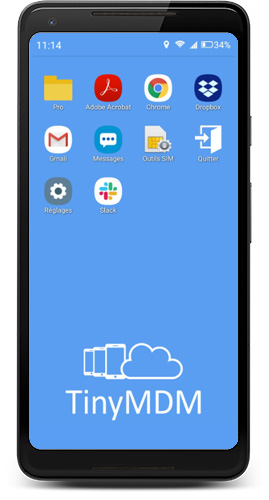
5. The configuration defined in the policy applies directly!
b. Enroll a device in WPCO mode
Even if it’s personally enabled, the device belongs to the organization, hence you must follow the same steps as to enroll a fully managed device (see above). The only difference here is that you must check the box “WPCO enrollment” below the QR code in TinyMDM. Learn more about our WPCO enrollment method.
c. Setup a work profile on a device (BYOD mode)
Enabling a Work Profile is ideal for managing employee-owned devices (BYOD) or giving more freedom to employees using a company-owed device: it allows companies to manage the business data and apps, but leave everything else on the device under the user’s control. To setup a work profile on a device already in use:
1. Download the application “TinyMDM” on the Play Store
2. Open the application and choose the option “Work Profile”
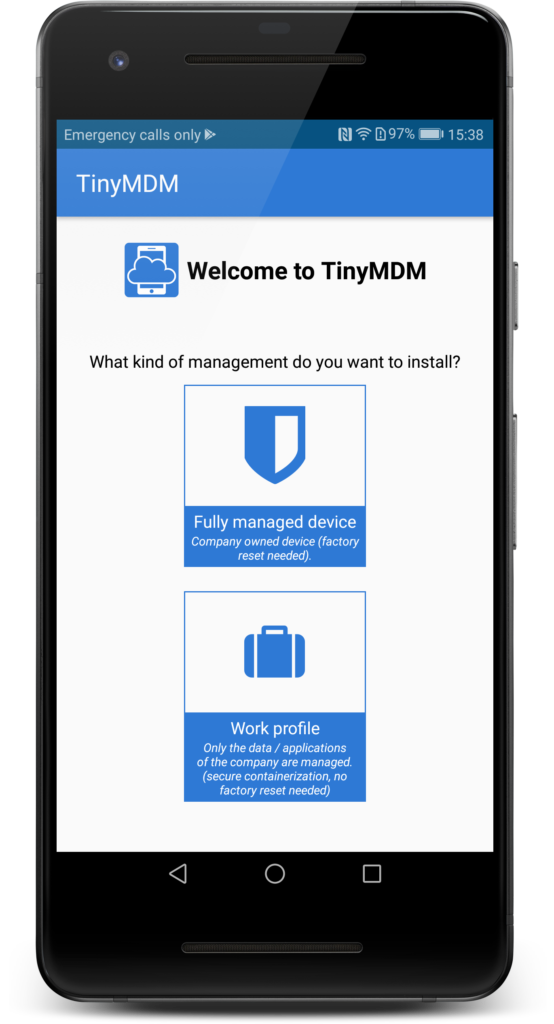
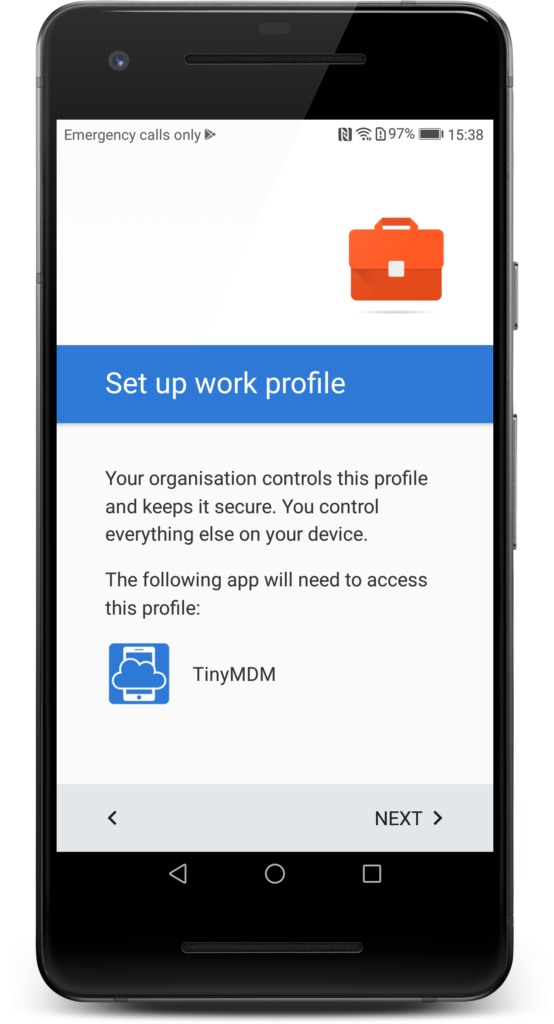
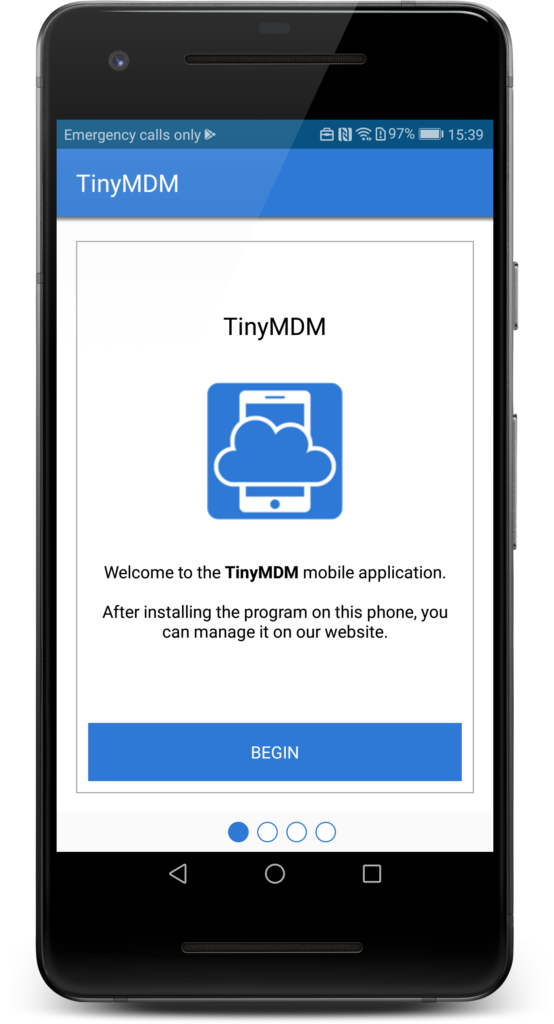
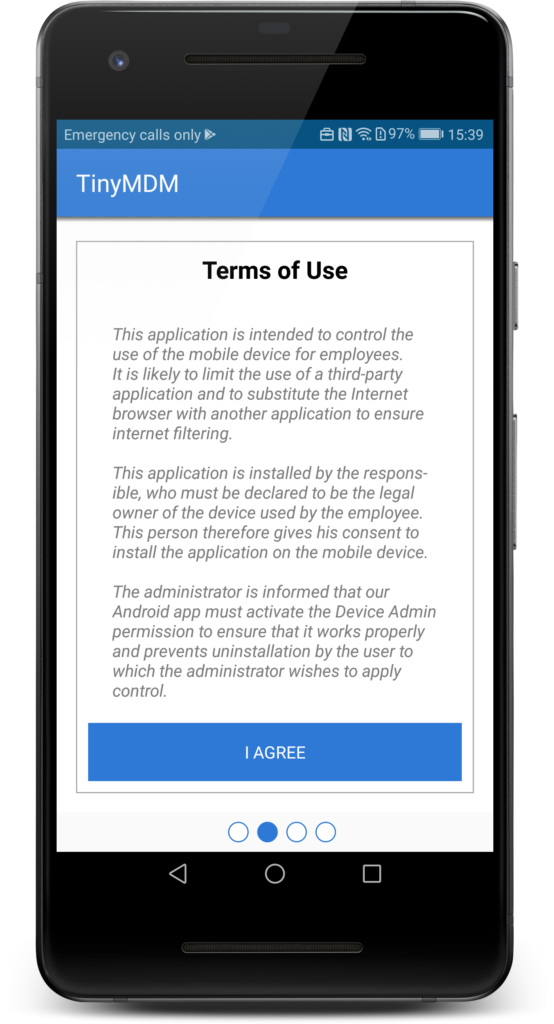
3. Follow the configuration wizard and accept the Terms of Use
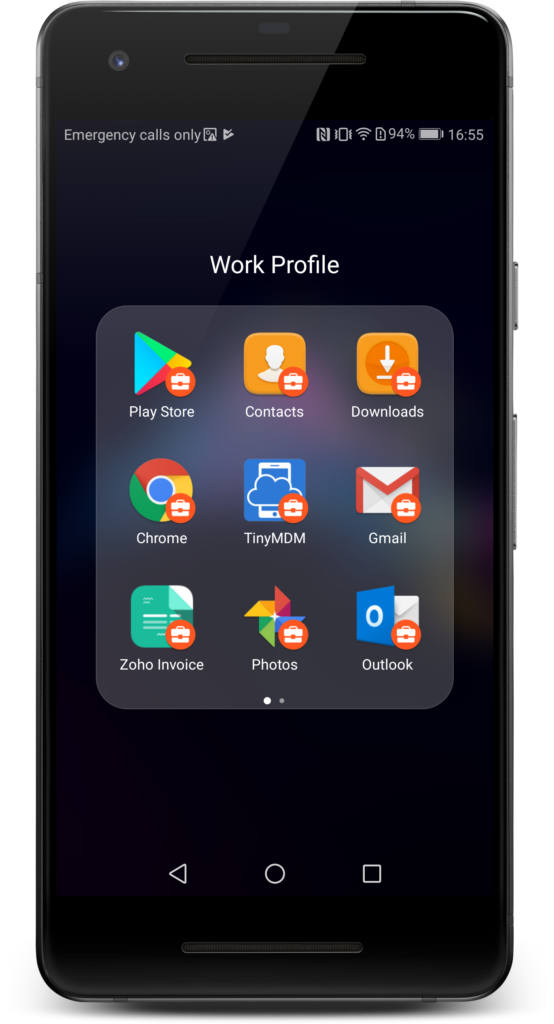
Business-related apps managed by the Work Profile have a particular business icon setting them apart from personal apps. They are held in a secured container and, depending on the policy affected to the device, a secure password will be needed to access it.
The Play Store inside the Work Profile will only display the Enterprise approved apps, but users can access the Play Store as usual once outside the Work Profile.