How do I create a website shortcut on the home screen?
A web application, also known as a PWA (Progressive Web App), provides simplified access to a website by creating a shortcut on the device’s home screen. Read this article to find out more.
Prerequisite:
- The web application requires the Google Chrome browser. It is therefore essential that Chrome is authorized and installed on the devices on which you wish to install the web application.
- Devices must be running Android 8 or higher. Indeed, to work properly, web applications must open in a version of Chrome that is only available from Android 8.
A. How to create a web app via TinyMDM?
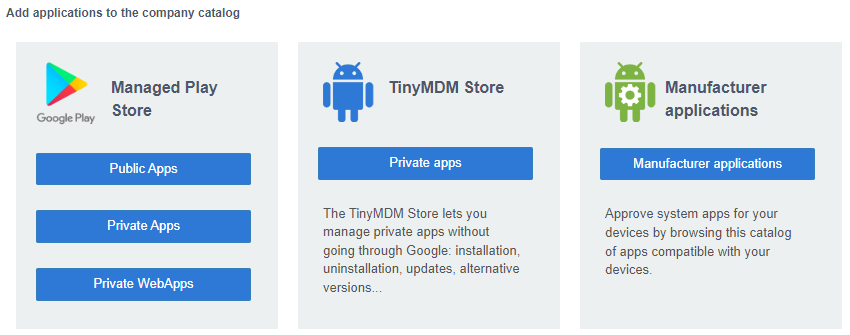
- Start by installing the Google Chrome application if it is not already present on your TinyMDM administration console. To do this, go to the Enterprise Approved Apps tab and click on Public Apps:
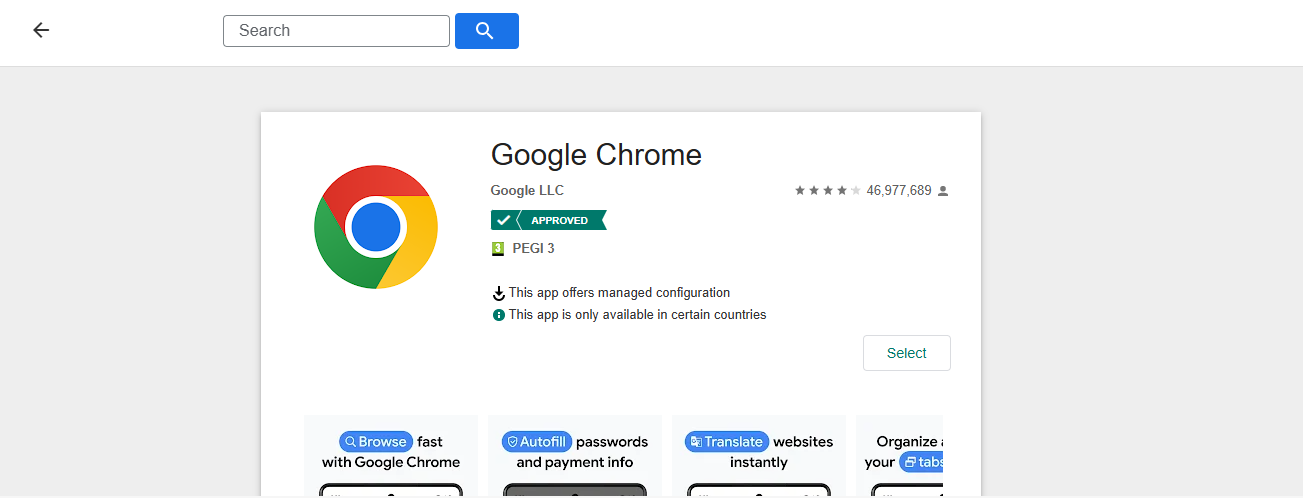
2. Search for the Google Chrome application, then click on the Select button, then on Approve and/or install on certain policies, then tick Approve and install and fill in the policy or policies on which you wish to create web applications:
3. Once you’ve clicked Ok, the Google Chrome application will automatically install on the devices present in the relevant policies.
If you use the Internet browser to filter access to websites, and don’t want Chrome to be used for anything other than opening your web application, we invite you to follow this tutorial. You’ll then be able to block the use of Chrome for Internet browsing.
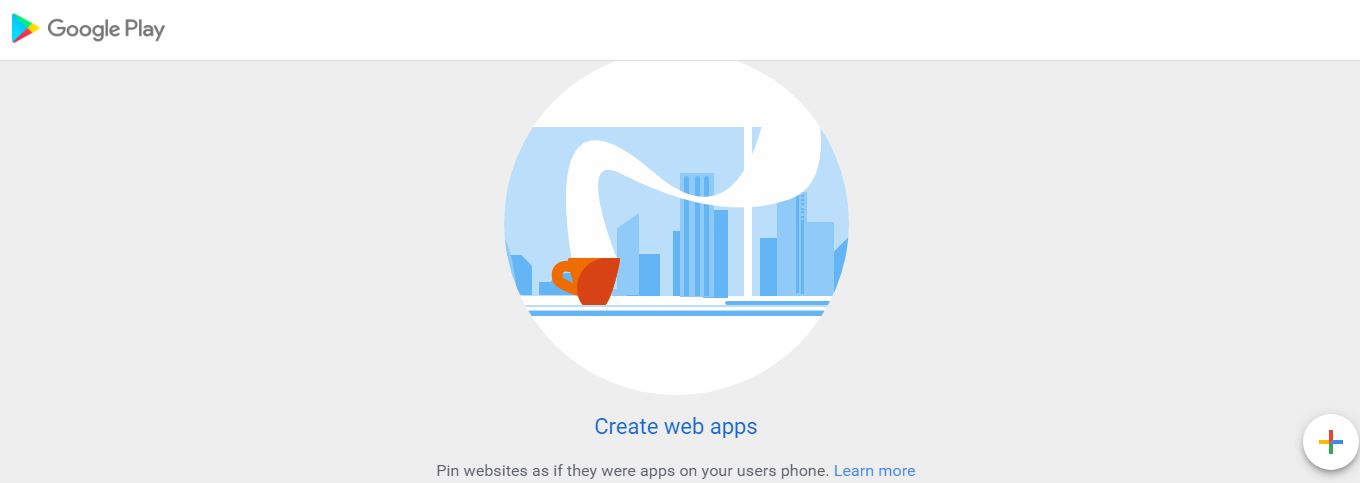
4. Then, still from your TinyMDM console, go to the Enterprise approved apps tab and click on Private WebApps:
5. A page opens: click on the ![]() button at the bottom right of the Google Play window.
button at the bottom right of the Google Play window.
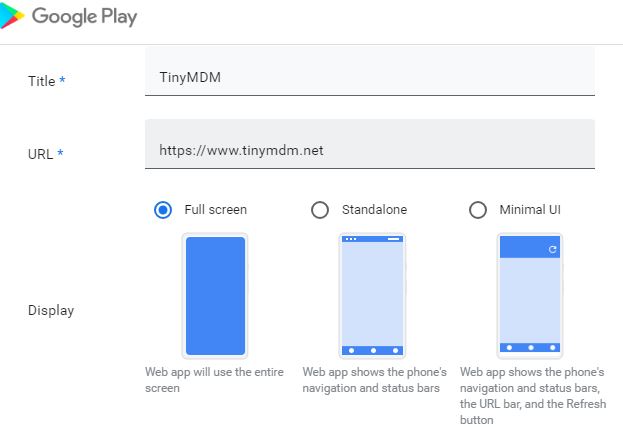
6. Customize your web app by choosing:
- the title for your app
- the website URL
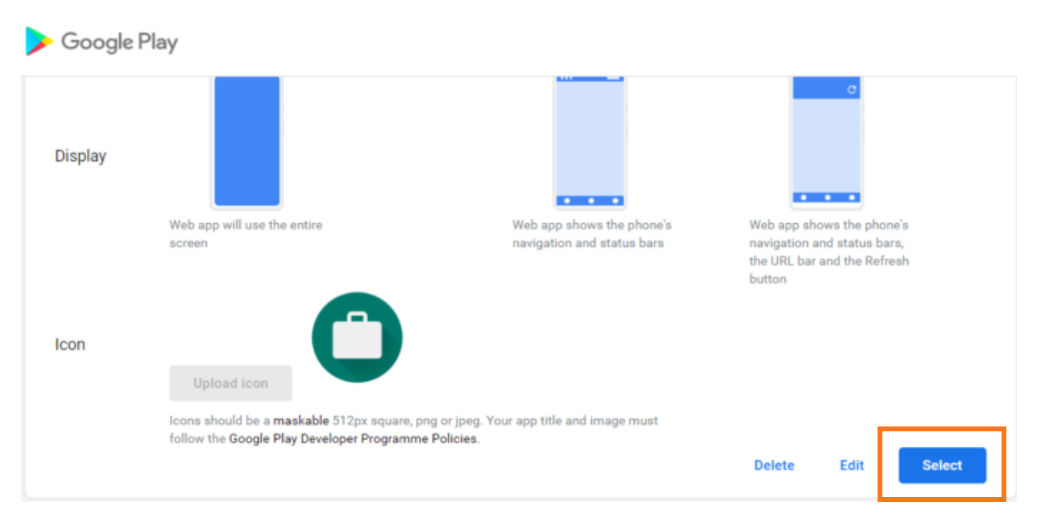
- the display mode:
- Full screen: the web app is displayed in full screen mode. Please note that Google services are in charge of managing the Web Apps and decided to limit the full-screen display to only “https” web adresses for security reasons. If your website is in “http” only, please use the “minimal user interface” mode.
- Standalone: the device’s navigation and status bars remain visible when the web application is open
- Minimal user interface: the navigation, status and URL bars, as well as the refresh button, remain visible when the web application is open
- the desired icon
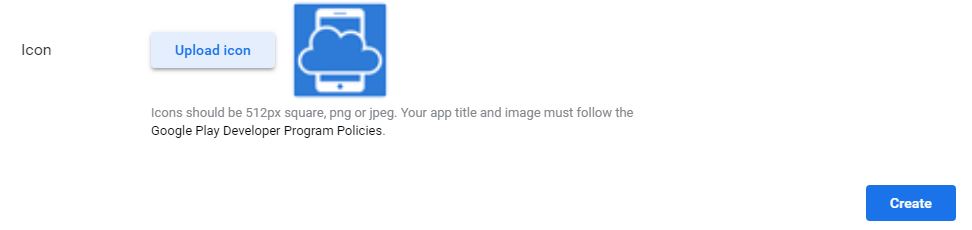
Then click on the Create button to publish the application to the private Play Store. Publication may take several minutes.
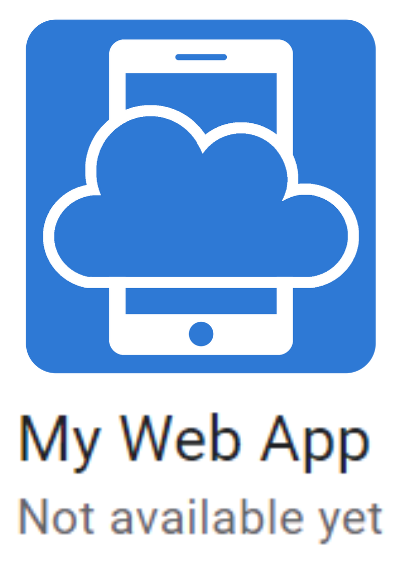
4. Once published, your application will appear in the list of web applications. When the “Not available yet” info disappears, click on your web application icon to modify it:
6. Scroll down until your see the Select button. Click on it and then on OK to approve the application.
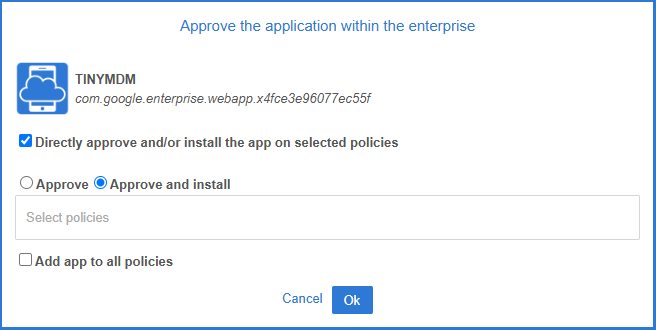
Click on Directly approve and/or install on selected policies. Then tick Approve or Approve and install, depending on whether you only want to approve the application on devices (make it visible in the Play Store) or whether you also want to install it automatically. Then select the policies on which to do so.
B. How to approve my web app?
If you’ve just followed all the A steps, you don’t need to perform this step, since you’ve already approved and installed the application under the desired policies.
However, if you’ve created your application without approving it directly, here’s how to do it, policy per policy:
- Go to the Policies tab, and click on Modify to modify the policy of your choice
- Scroll down to the Application Management sub-tab, then search for your application in the Policy Approved Apps list.
- Click on the application’s icon to approve it in this policy (making it visible in the Play Store on every device), then in the
 menu, click on Install.
The application will then appear on every device.
C. How to disapprove my web app?
1. At the policy level
Go to the Security Policies tab, then click on Modify to modify the desired policy. Then scroll down to the Application Management sub-tab to find the web application in question.
In the application’s menu, click on Uninstall and then on Unapprove to completely remove the application from all devices in this policy.
2. At the enterprise level
- Start by uninstalling the application from the policies on which they are, as described above, then go to the Enterprise Approved Apps tab.
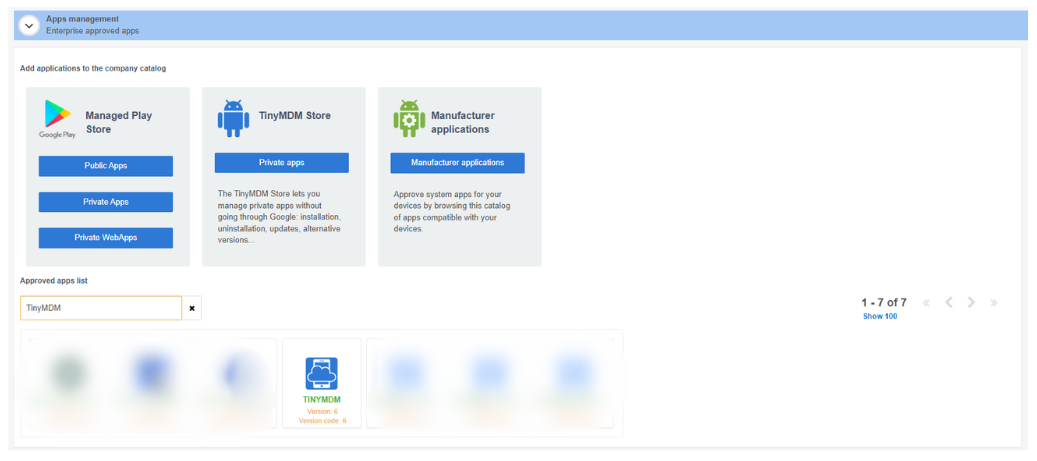
- In the Apps Management sub-tab, find the web application you’ve created in the list of approved applications and click on its icon:
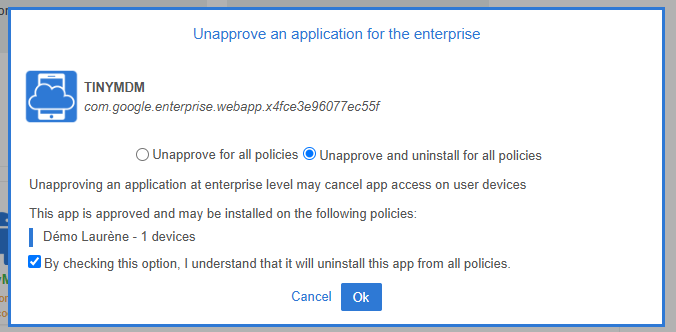
3. A disapproval pop-up will appear. Click on Unapprove and uninstall the app for all policies and then on Ok to confirm your decision:
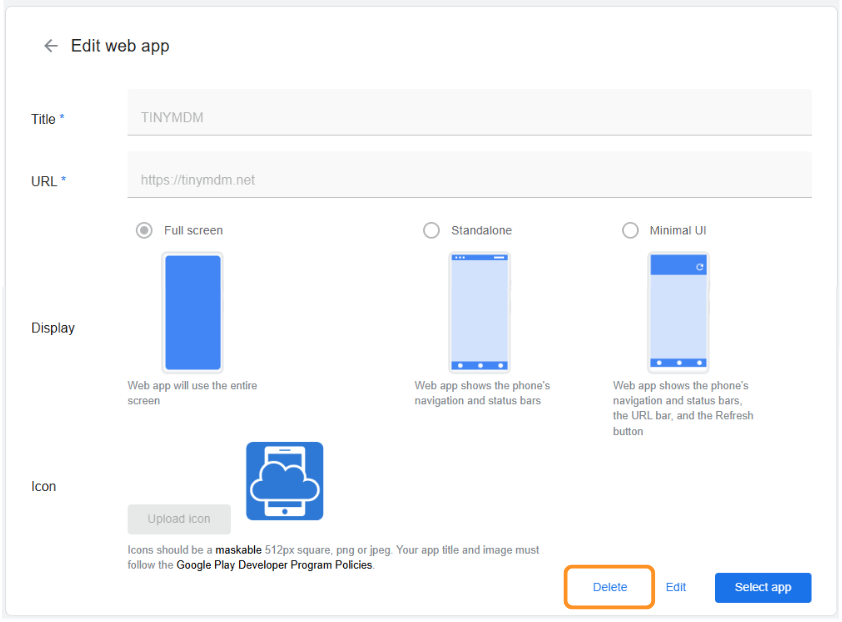
4. Then, still in the Apps management sub-tab, click on Private WebApps. Find the desired web application and click on the icon to open it. At the bottom of the page, click on the Delete button:
5. Then confirm deletion by selecting DELETE. The web app will then be deleted from the admin console.
D. Why doesn’t my web app open in full screen?
If your web application doesn’t open in full screen mode, even though you’ve selected the Full Screen option, there may be several reasons for this:
1. Unsecured website URL
If the URL of the website you want to use for your web application is “http” and not “https”, then for security reasons you won’t be able to open it in full screen mode.
2. Google Chrome is not installed
If your website is “https”, check the policy to make sure you’ve installed the Google Chrome browser. If so, uninstall any other browser installed in the policy, then try opening your web application again. If nothing happens, try installing your web application again: it should now appear full-screen.
If you’re still having trouble installing your web application, please contact our support team so that we can help you.